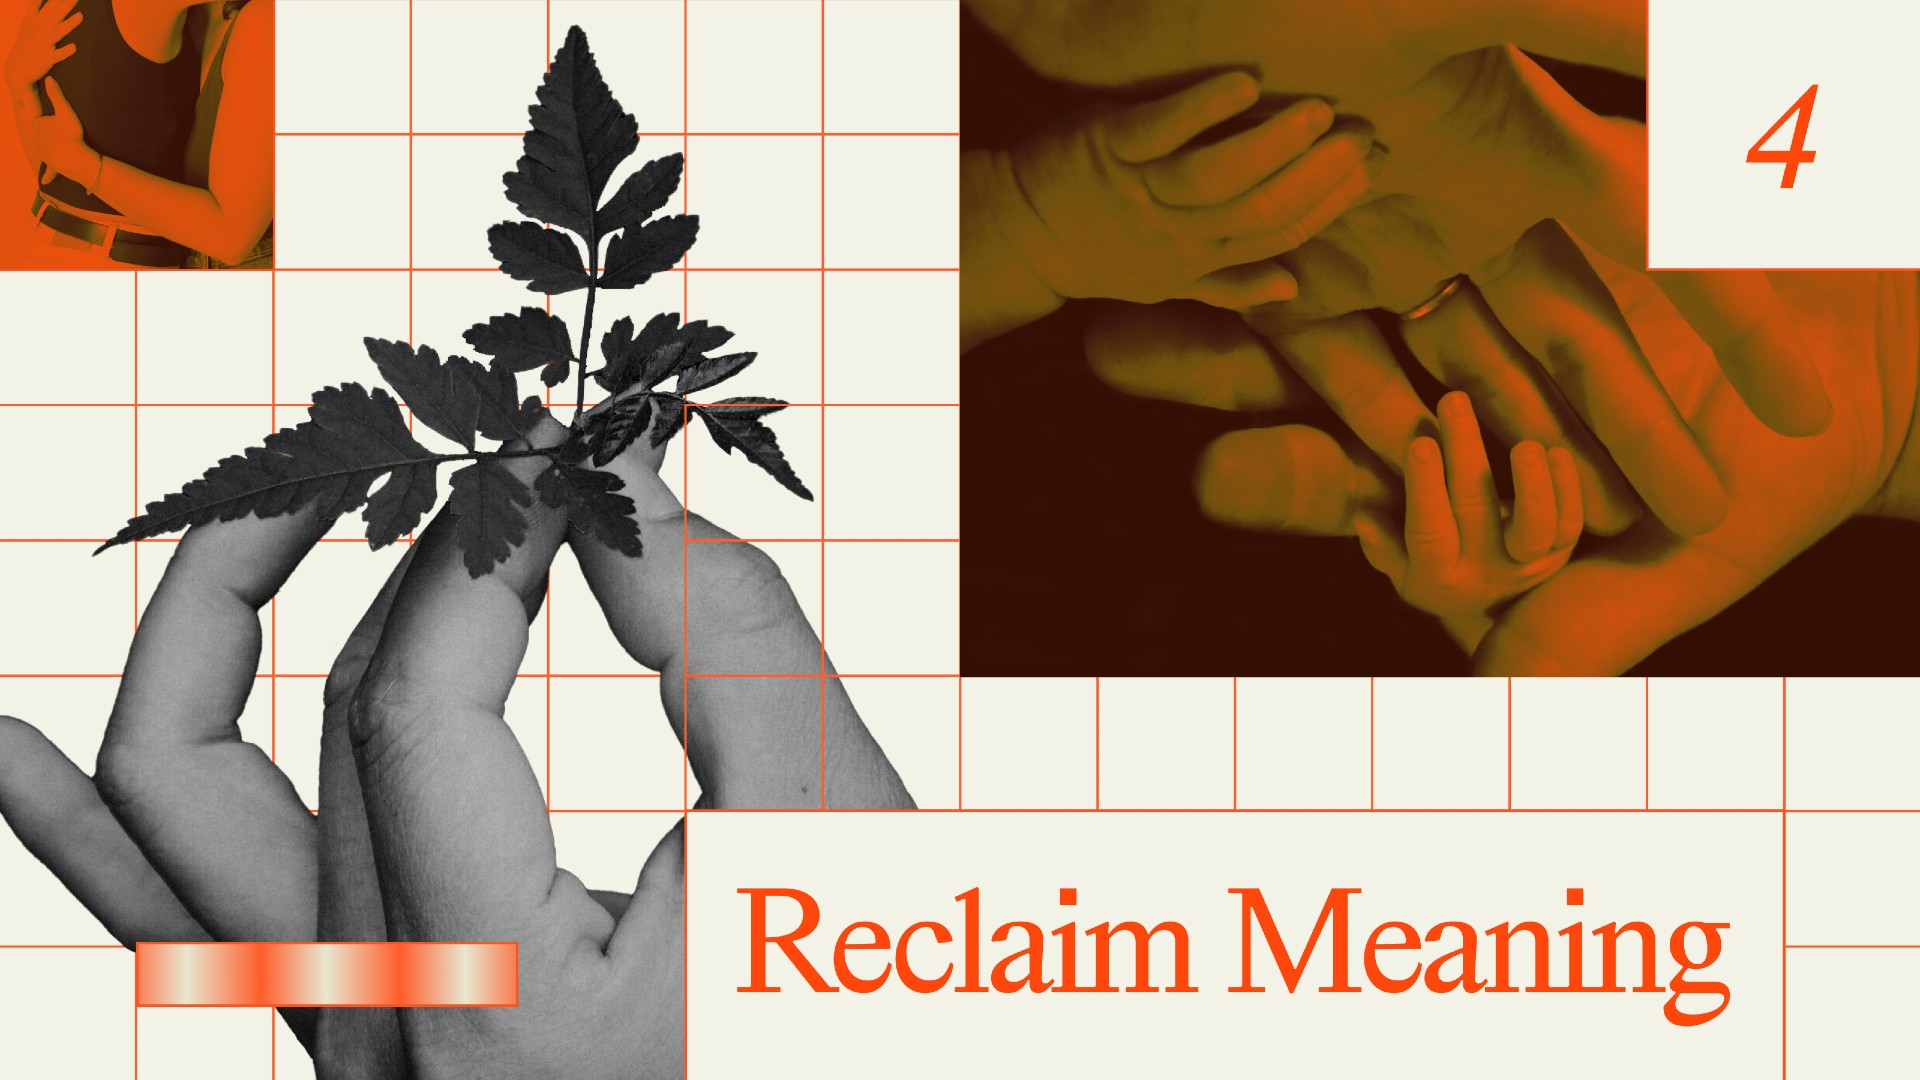
Is conflict humanity’s natural state? Could we ever agree on a set of values? The knee-jerk response for any student of history would be ‘no’, but the data tells a different story. Psychologist and author Steven Pinker offers proof in the form of Wagner’s law: “One development that people both on the Left and the Right are unaware of is almost an inexorable force that leads affluent societies to devote increasing amounts of their wealth to social spending, to redistribution to children, to education, to healthcare, to supporting the poor, to supporting the aged.” Until the 20th century, most societies devoted about 1.5% of their GDP to social spending, and generally much less than that. In the last 100 years, that’s changed: today the current global median of social spending is 22% of GDP. One group will groan most audibly at that data: Libertarians. However, Pinker says it’s no coincidence that there are zero libertarian countries on Earth; social spending is a shared value, even if the truest libertarians protest it, as the free market has no way to provide for poor children, the elderly, and other members of society who cannot contribute to the marketplace. As countries develop, they naturally initiate social spending programs. That’s why libertarianism is a marginal idea, rather than a universal value—and it’s likely to stay that way. Steven Pinker is the author of Enlightenment Now: The Case for Reason, Science, Humanism, and Progress.
Steven Pinker: Sometimes people say that in the absence of religion there can be no moral values and, in fact, for that reason, there can never be values that everyone agrees upon. “We are inherently conflictual. The human condition is conflict among peoples because they could just never agree on values.”
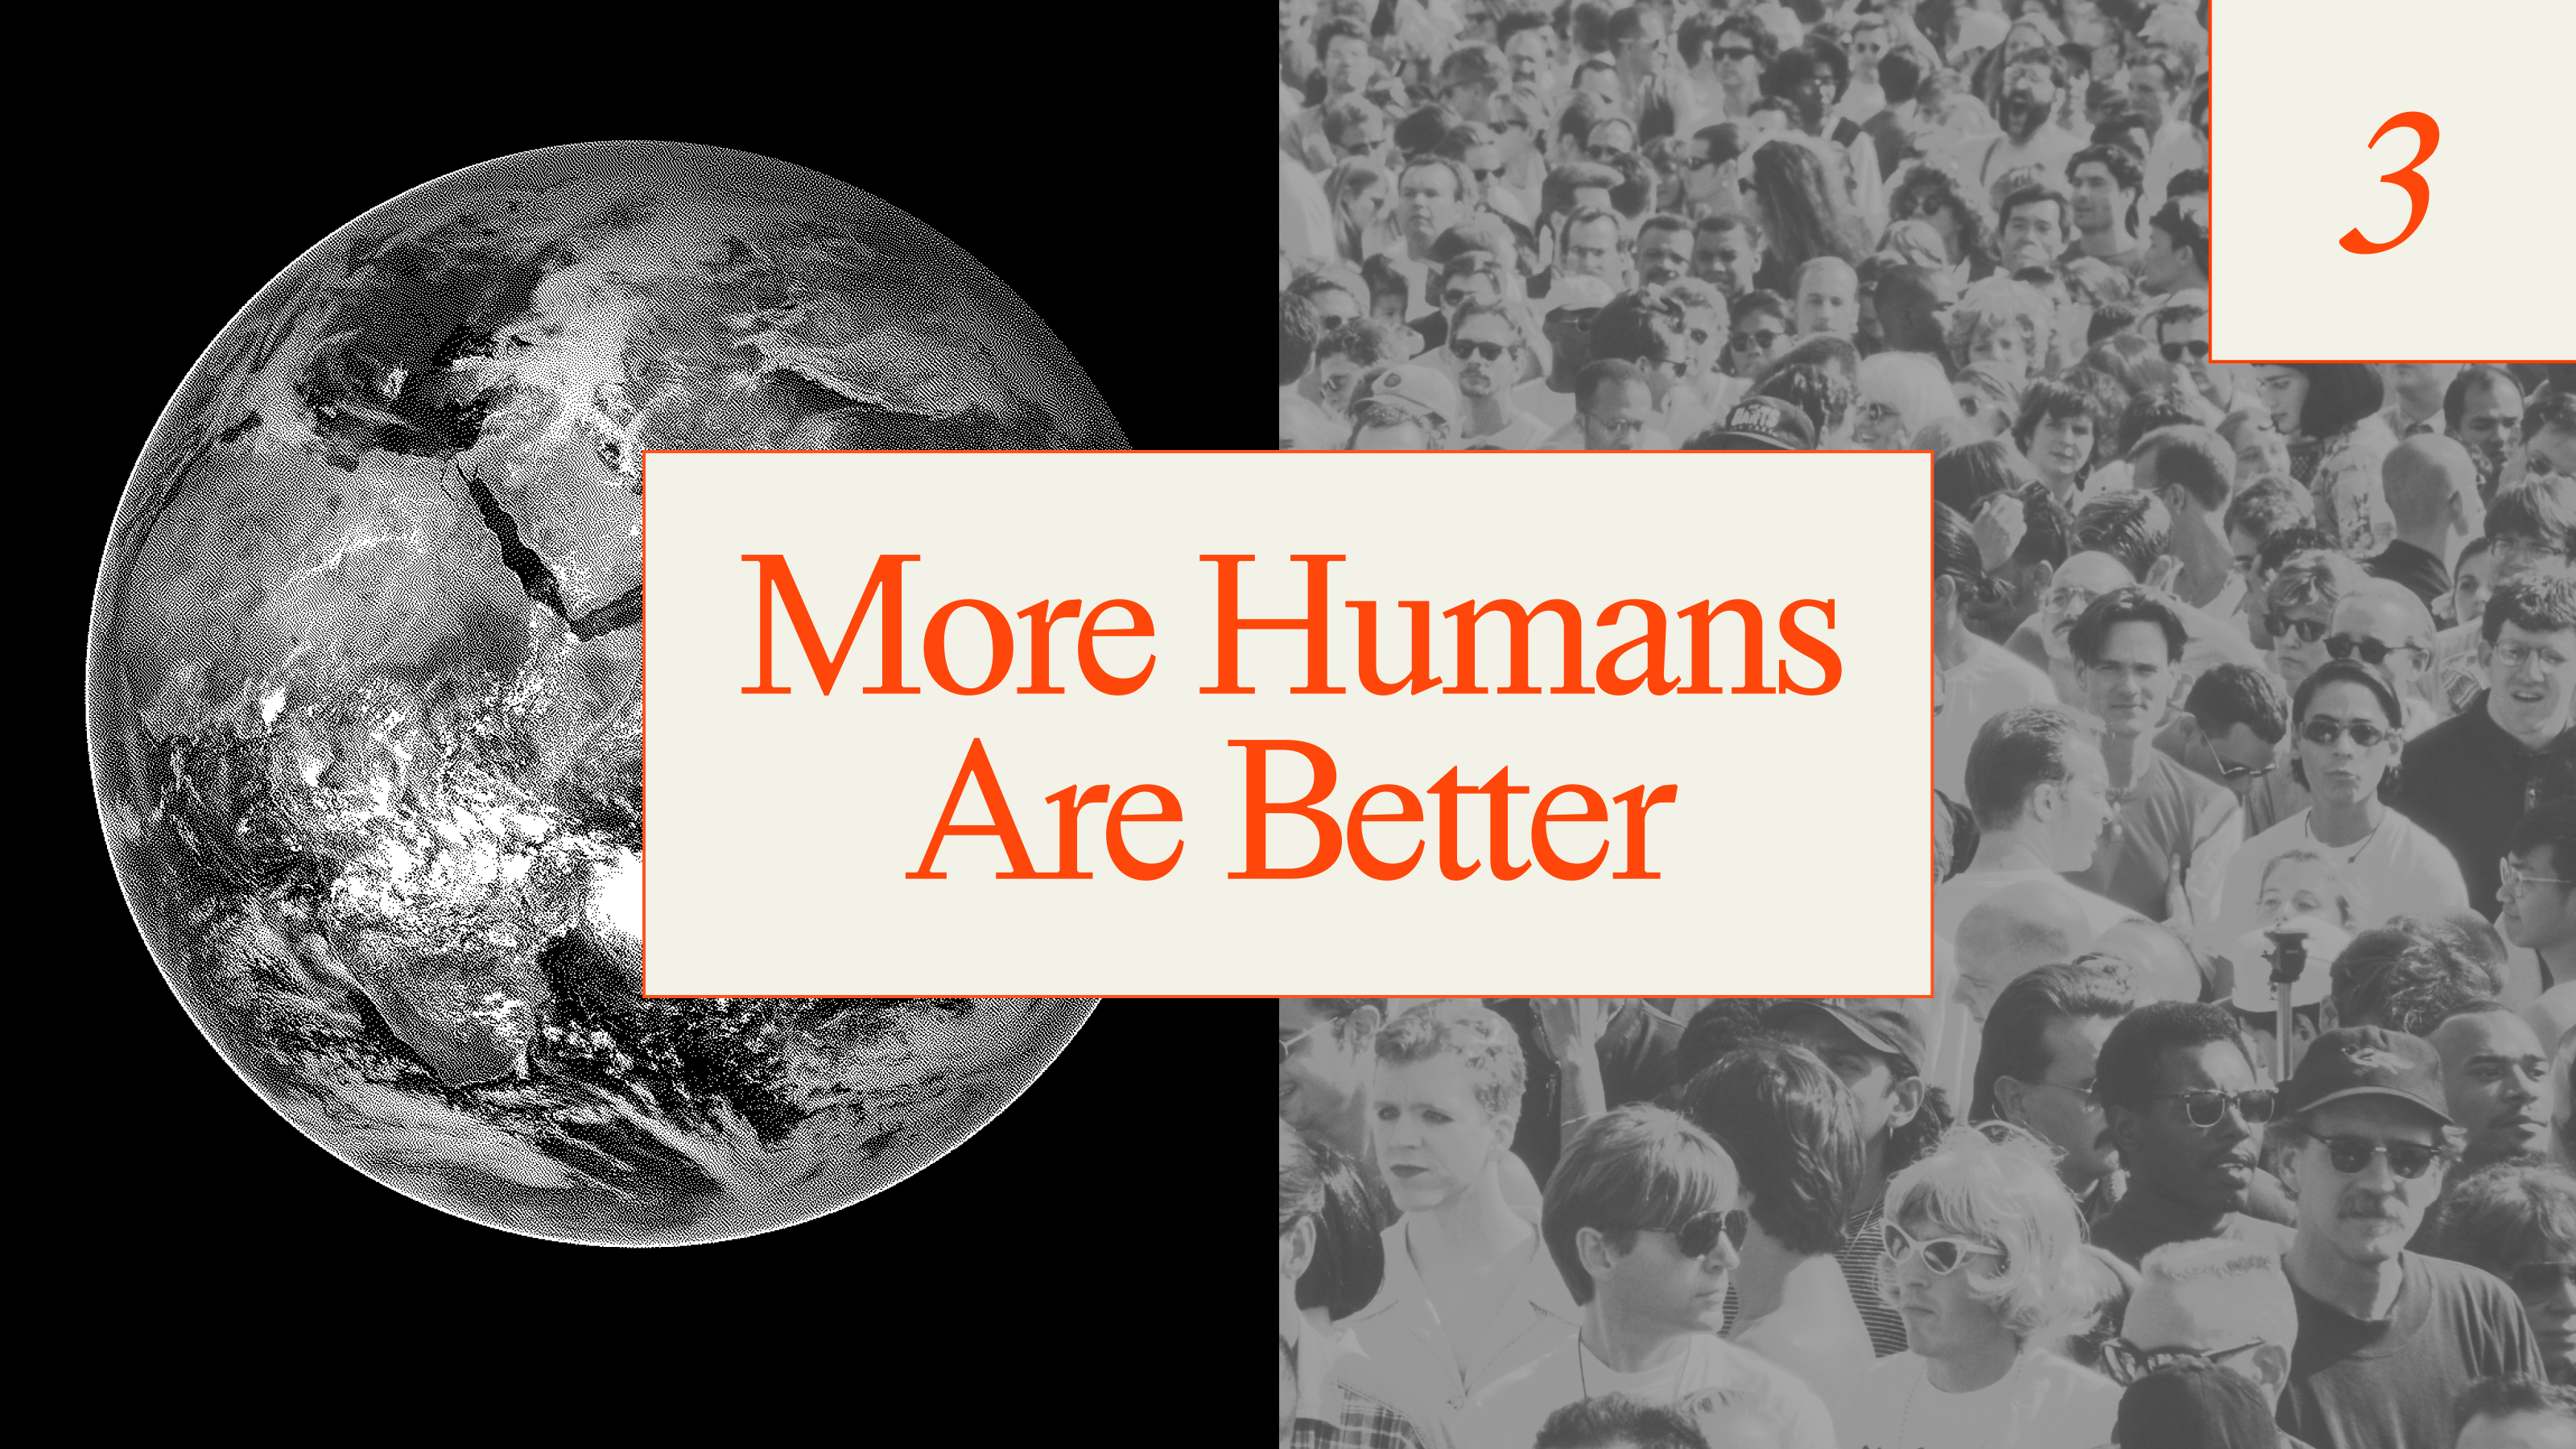
Well, putting a lie to that are developments like the Universal Declaration of Human Rights in 1948 and the Millennium Development Goals where the nations of the world agreed on a number of milestones that humanity should strive for—having to do with health and longevity and education—and some of which were met years early, such as reduction of extreme poverty, usually defined as more or less what a person would need to support themselves and their family, which was met several years ahead of schedule. Right now, less than ten percent of the world lives in a state of extreme poverty, and the successor to the Millennium Development Goals, called the Sustainable Development Goals, calls for the elimination of extreme poverty by the 2030s. An astonishing goal, one that is by no means out of reach.
One development that people both on the Left and the Right are unaware of is almost an inexorable force that leads affluent societies to devote increasing amounts of their wealth to social spending, to redistribution to children, to education, to healthcare, to supporting the poor, to supporting the aged.
Until the 20th century, most societies devoted, at most, one-and-a-half percent of their GDP to social spending, and generally much less than that. But starting in the 1930s with the New Deal in the United States and accelerating in Europe after World War II with the welfare state, now the median across societies of social spending is 22 percent of GDP.
The United States is a little bit below that, but even that’s misleading because we’ve got a lot of welfare that’s done by our employers. That’s how we get our health insurance. That’s how we get our retirement. Other countries, it’s the government that mediates that. But if you add the private social spending onto the public portion the United States is actually second highest of the entire world. But this is a development sometimes called Wagner’s law, and it just seems that resistance is futile.
Even conservative politicians like George W. Bush presided over another expansion of the welfare state with his Medicare drug benefit. And the attempts by the Trump administration to repeal Obamacare, for example, were stymied by pitchfork-and-torch-bearing angry constituents.
People like social spending despite their protestations, even in libertarian America. And, in fact, it's probably not a coincidence that the number of libertarian paradises in the world—that is developed states with no substantial social spending—is zero. And as developing countries develop, as they start to become affluent, they get on the bandwagon and they start to develop programs of social spending.
The expansion of social spending shouldn’t be a shock, because even if one believes in the principles of the free market there are just some things that the market is not going to provide, by design. No one expects that the market will provide for poor children. It’s just not something that markets can do. Or the elderly, or the unlucky people with nothing to offer in the marketplace in exchange for which they can make a decent living. And so as a kind of necessary patch or kludge—or, as we say, safety net—wealthy societies have to provide what the market, by design, cannot.